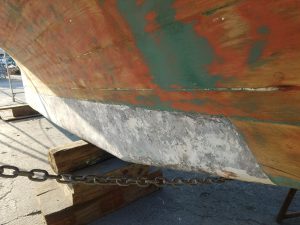
When it comes to maintaining the longevity of your boat, applying an epoxy barrier coat to the lead or cast iron keel is a crucial step. These materials are prone to corrosion and can be costly to repair if left untreated. But before you start this DIY project, it’s important to do your research and understand the proper steps to take.
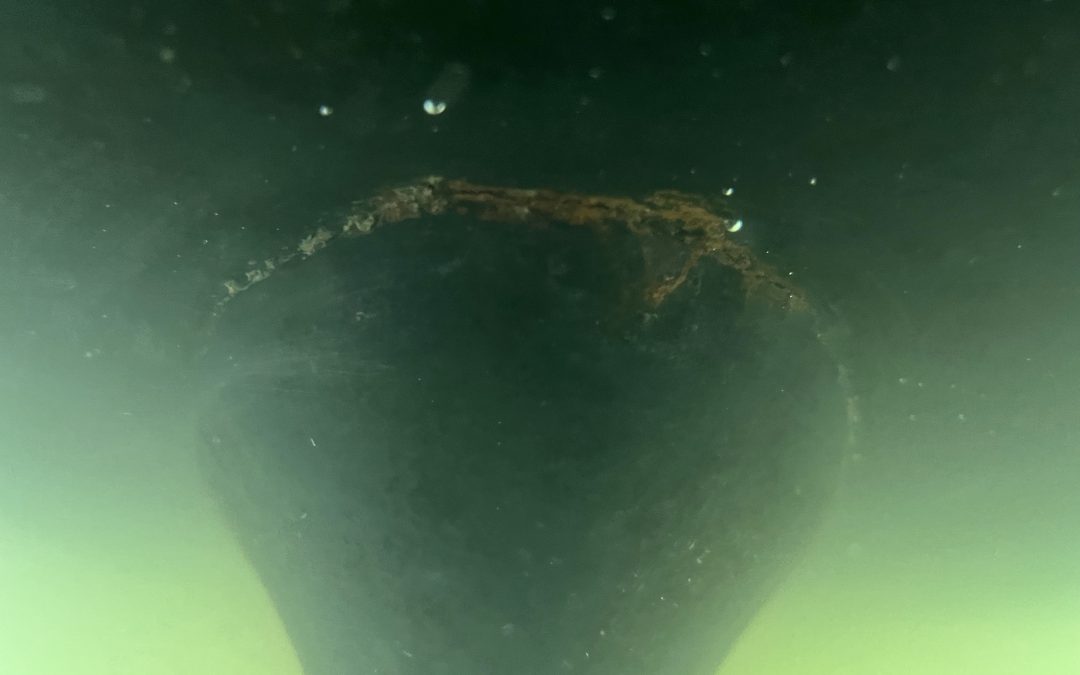
As a diver, I’ve seen firsthand the effects of poor keel maintenance. From professional refinishes that only last a few months to boat owners trying to save a few bucks by cutting corners, it’s not uncommon to see keels covered in rust and barnacles. This is especially true when it comes to the underside of the keel, which is difficult to access and prone to chips, grit, and other contaminants.
In my search for a better solution, I came across a few forum threads and a Wooden Boat magazine blurb about “wet-sanding” epoxy into the raw metal. This process involves mixing un-thickened epoxy and using sanding discs to work it into the metal surface. The idea is that the epoxy creates an airtight layer over the metal, protecting it from oxidization and providing a solid base for paint or other coatings.
I decided to give this technique a try on my own 29 foot Lyle Hess Cutter. The lead ballast keel was rough and unfinished, so I spent several days grinding and sanding it down. Once the metal was bare, I mixed up some epoxy and used a paintbrush to apply it to the keel. Then, I wet-sanded the epoxy into the metal using 36 and 60 grit sanding discs.
This process took some time, but it was worth it to see the fresh metal underneath the now airtight layer of epoxy.
After the first layer of epoxy cured, I used thickened West Systems Epoxy to fill in the divots and lumps. Then, I longboard sanded and faired the keel with an orbital sander. Finally, I applied Interlux 545 epoxy barrier coat primer. The result? A keel that has remained oxidization-free and well-protected for the past 5 years.
So if you’re looking to apply an epoxy barrier coat to your lead or cast iron keel, here’s a quick step-by-step recap of the process:
1. Sand, grind, or wire wheel the metal to remove any contaminants.
2. Immediately following the prep sanding, apply un-thickened epoxy and wet-sand it into the metal using 36 or 60 grit sanding discs. Don’t do this step “tomorrow.” Oxides and contamination will form immedaitely on the bare metal surface, and you want to get these covered up right away.
3. Allow the first layer of epoxy to cure, scuff the surface, and then use thickened West Systems Epoxy to smooth over divots and lumps.
4. Fair the thickened epoxy by sanding with a longboard and/or orbital sander, making 100% sure you don’t break through to bare metal. Scuff the entire surface wherever epoxy is applied. Wash with acetone or water and allow to dry.
5. Paint the keel with Interlux 545 Primer and your choice of antifouling bottom paint.
Keywords: boat maintenance, epoxy barrier coat, lead keel, cast iron keel, corrosion prevention, DIY project, wet-sanding,un-thickened epoxy, sanding discs,oxidization prevention, paint application, thickened West Systems Epoxy, longboard sanding, orbital sander, Interlux 545 epoxy primer, antifouling bottom paint, lead ballast keel, raw metal, airtight layer, chips and grit contaminants oxidization-free, Lyle Hess Cutter, sanding and grinding, faired keel, acetone, water and acetone washing, scuffing surface, divots and lumps, bare metal, keel protection, boat longevity, rust and barnacles, underside of keel, forum threads, Wooden Boat magazine, keel maintenance, refinishing, cost savings, metal surface protection, paint or coatings, boat owner tips, keel repair, epoxy application, epoxy curing
Related Articles
Bottom Paint Guide
In 10 years of tracking bottom paint performance, I’ve noticed a variety of results – good and bad – in the performance of bottom paint.
Anode Issues
Anode Fasteners Falling Out Anodes lose material...
How to properly install anodes
If you are tired of replacing your anodes every...
Rusting Keel Fins
Beneteau keel fins (a very common brand of...
Propspeed not sticking to previously corroded metals
Whenever a propeller has previously suffered...
Is my boat in a hot harbor?
The problem of "hot harbors:" There are marinas...
Ask Lowell
LH Marine serves all marinas and homes in the SF Bay Area.
Phone: (510) 470 – 9220
